For lash professionals, mastering individual lashes is an essential skill. Individual lash extensions provide a more natural look and allow for precise customization based on each client’s unique eye shape and lash health. Learning how to apply individual lashes correctly sets the foundation for more advanced techniques in the future.
This individual lashes guide is designed for beginner lash artists looking to refine their technique, understand the best tools, and avoid common mistakes. With the right approach, patience, and practice, individual lash applications can lead to stunning, long-lasting results that keep clients coming back.
Tools Needed: Essentials for Beginners
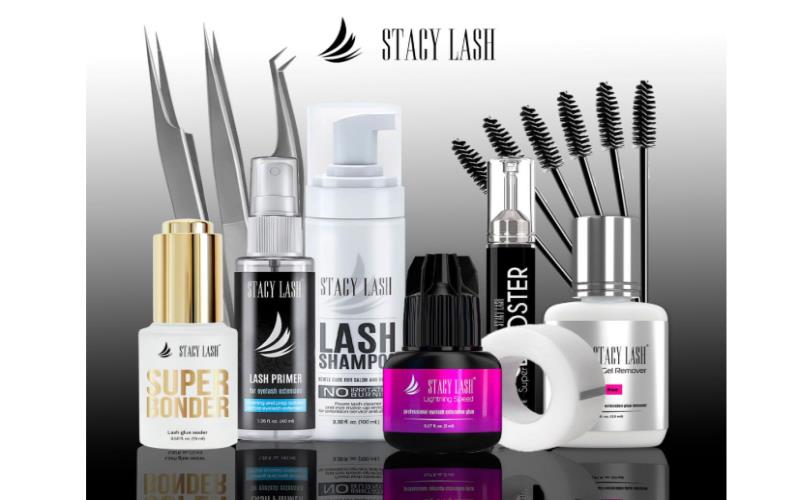
Before starting an individual lash application, having the right tools ensures a smooth and efficient process. Here’s what every beginner lash artist should have:
Individual Lashes – High-quality lashes in different lengths, curls, and thicknesses.
Lash Glue for Beginners – A medium-drying adhesive that allows for some adjustment time while ensuring strong retention.
Tweezers – Isolation tweezers and curved tweezers for picking up and placing lashes with precision.
Lash Cleanser and Primer – To remove oils and residue from the client’s natural lashes for better adhesion.
Eye Pads and Tape – To protect the lower lashes and create a stable working surface.
Microbrushes and Disposable Wands – For applying primer and brushing through lashes.
Starting with high-quality tools will improve precision and reduce frustration during the learning process.
Preparation: Prepping Natural Lashes for Application
Proper preparation is crucial for achieving long-lasting results. Follow these essential steps before applying individual lashes:
- Cleanse the Lashes – Use an oil-free lash cleanser to remove dirt, makeup, and natural oils that could interfere with adhesion.
- Apply Primer – Use a primer to further clean the lashes and create an optimal bonding surface for the glue.
- Secure Lower Lashes – Use gel pads or medical tape to keep lower lashes in place and prevent them from sticking to upper lashes.
- Assess Lash Health – Check for weak or damaged lashes and avoid applying extensions to those areas.
- Choose the Right Lash Type – Select lash lengths and curls that match the client’s natural lashes for a seamless blend.
A thorough preparation process ensures better retention and prevents premature lash fallout.
Application Process: Step-by-Step Instructions for Beginners
Applying individual lashes requires patience and precision. Follow this beginner lash application guide to build confidence and accuracy:
Step 1: Isolate a Natural Lash
Use isolation tweezers to separate one natural lash from the others. Ensuring proper isolation prevents lash stickiness and promotes even lash growth.
Step 2: Pick Up an Individual Lash Extension
Using curved tweezers, gently pick up an individual lash by its tapered end. Dip the base into a small bead of adhesive.
Step 3: Apply the Extension
Place the lash extension about 1–2 mm away from the lash line. Avoid touching the skin to prevent irritation or premature shedding.
Step 4: Hold and Secure
Hold the extension in place for a couple of seconds to allow the adhesive to bond. Ensure there are no gaps or air bubbles.
Step 5: Repeat and Maintain Symmetry
Continue applying lashes across the lash line, adjusting the lengths and curls as needed for a balanced look. Maintain even spacing and symmetry on both eyes.
Step 6: Dry and Set
Once the application is complete, use a nano mister or fan to speed up the adhesive curing process and reduce any potential irritation.
Perfecting these steps takes time, but consistency and attention to detail will lead to seamless, professional results.
Common Mistakes: Troubleshooting and Avoiding Errors
Even experienced lash artists encounter challenges. Here are some common mistakes and how to fix them:
-
Using Too Much or Too Little Glue
Too much glue causes clumping and discomfort.
Too little glue weakens retention.
Solution: Dip the lash lightly, ensuring a small, even bead of adhesive.
-
Improper Lash Isolation
Lashes that stick together can lead to discomfort and uneven growth.
Solution: Ensure complete isolation before applying each extension.
-
Attaching Lashes Too Close to the Eyelid
Adhesive touching the skin can cause irritation.
Solution: Leave a 1–2 mm gap between the extension and the lash line.
-
Uneven Lash Placement
Inconsistent lash lengths create an unbalanced look.
Solution: Follow a lash map and maintain symmetry.
-
Not Considering Lash Health
Overloading weak lashes can cause breakage.
Solution: Choose appropriate lengths and thicknesses based on natural lash strength.
Aftercare Tips: Educating Clients on Maintenance
Aftercare is essential for long-lasting lashes. Educate your clients on proper maintenance with these key points:
- Avoid Water and Steam for 24 Hours – This allows the adhesive to fully cure.
- Use Oil-Free Cleansers – Oils break down lash glue and shorten retention.
- Brush Lashes Daily – Prevents tangling and keeps extensions looking neat.
- Avoid Rubbing or Pulling – Reduces the risk of premature shedding.
- Schedule Regular Fills – Encourage clients to book touch-ups every 2–3 weeks.
Providing clients with a detailed aftercare guide improves retention and overall satisfaction with their lash extensions.
Conclusion: Building Confidence with Individual Lash Application
Learning to apply individual lashes is a valuable skill for any beginner lash artist. Mastering the beginner lash application process, using the right lash glue for beginners, and avoiding common mistakes will set the foundation for success. With time and practice, new lash artists can develop confidence, precision, and artistry in their work.
By following this individual lashes guide, beginners can build a strong reputation for delivering natural, beautiful, and long-lasting lash extensions. Whether working in a salon or building a personal brand, refining these techniques will lead to client satisfaction and business growth.

